How to Redline Documents in Microsoft Word
Microsoft Word's redlining feature allows individuals to track the progress of a document. This is done by making redline documents, as redlines in Word documents allow users to see changes or edits that other people have made. This proves to be important, especially when working in a team.
But how can you use this feature? Below, we have made a step-by-step guide on how to use this feature for redlining documents.
Step-By-Step Guide to Redlining in Microsoft Word
Step 1:
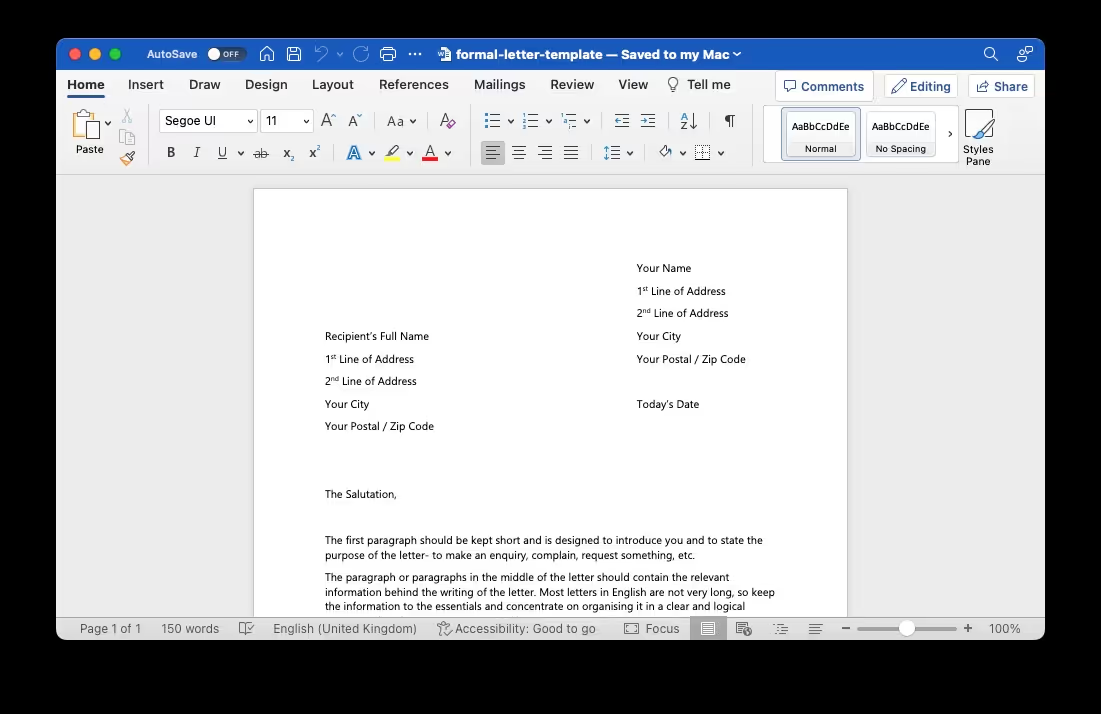
The first step is to open the Word document that you wish to change. You can do this by typing in the document's name on your Windows or Macintosh search bar, or could also manually look for the file in your computer's storage drive. Once you have located the file, open it.

Step 2:
The next step is to search for the 'Review' option in Microsoft Word. This option is usually located on the toolbar. Once you find it, click on it. This option helps to spell check or proofread the same document that you have opened. After clicking on the review tab, you will see an option that says "Track Changes". Turn this feature on.
This feature can also be used by a combination of keyboard keys i.e. Ctrl+Shift+E.

Step 3:
After enabling the Track Changes option, you may see that red markings have appeared under many words in your document. The red lines indicate that these words have been edited in the document. You will also see an option saying 'Simple Markup' on the right-hand side of the 'Track Changes' option.
Clicking on the simple markup option will open up a drop down menu. Select the 'All Markup' option. This will highlight all the text you add or remove in red, along with an option of making a comment for the added or removed text. This helps the person know why such changes were made. There are also three other options besides the 'All Markup' option:
Simple Markup: Simple markup only shows red lines along the edited text but doesn't allow the commenting feature.
No Markup: This doesn't highlight the edited text, meaning you will not see any red lines under the edited text.
Original: This option will only highlight the removed or deleted text but will not show the edited one.
Convert Word Documents into PDF
Once you have made all the necessary changes and have saved the Word file, you can save your file in the PDF format. Or, you can upload your Word document to our Word to PDF converter. Your Word file will easily get converted into a PDF file in no time, with all of the changes made remaining intact.
Our Other PDF Tools
In addition to our Word to PDF converter, you can Edit, Compress, and Sign your PDF on PrintFriendly. Just head to our PDF Tools page and click one of the options you see below.

Benefits of Using the Redline Feature
There are many useful applications of using the redlining process, from making changes to speedy revisions, this tool makes it all look clean, easy and efficient.
Below we have highlighted some important benefits of using this tool.
Record Changes
One of the main benefits of redlining is to identify the changes that you have made. This is beneficial for anyone who likes to review the changes made and compare it with the previous or multiple versions of a file.
Learning Tool
This tool is also beneficial for maintaining a track record for changes made in an article. The changes made get highlighted by a redline. Through this redlined document, individuals can go back and review these changes to learn about what they need to be careful of in the future.
This makes this tool a great fit for learning and examining documents, such as legal documents.
Perfect For Editing
For someone in the editing field who regularly reviews and makes changes into other people's documents, this feature is a perfect fit. The edited changes can be sent back to colleagues or co-workers to review and adjust to accordingly.
At the end, this tool provides multiple options for individuals to highlight, comment, edit and respond to revisions. This makes the whole process efficient and time saving, making it a must have.


