How to annotate a screenshot in your browser
Take a full page or current view screenshot with PrintFriendly, then point, label, number and hide things right on it before you save or send it.
You annotate a screenshot to say something the picture can't say on its own: click this button, this number is wrong, do these four things in order. Often it's also to hide a name, an email address or an account number before you send it on. The PrintFriendly extension now lets you annotate a screenshot right where you took it, whether that's the current view or the whole page top to bottom, and then save, print or share it with the marks in.
The quick built-in way
Every computer and phone has something for this already, and for a quick scribble it's all you need.
- Windows: after you take a snip, the Snipping Tool's Pen and Highlighter let you draw on it and mark things.
- Mac: click the thumbnail that shows up in the corner after a screenshot, and you can mark it up before it saves.
- iPhone and Android: both let you draw on a screenshot right after you take it.
They're made for a quick mark on what's on your screen. When you want a whole web page in one picture, steps that number themselves, or private text that's gone from the searchable PDF too, that's what the PrintFriendly extension adds.
How to annotate a screenshot with PrintFriendly
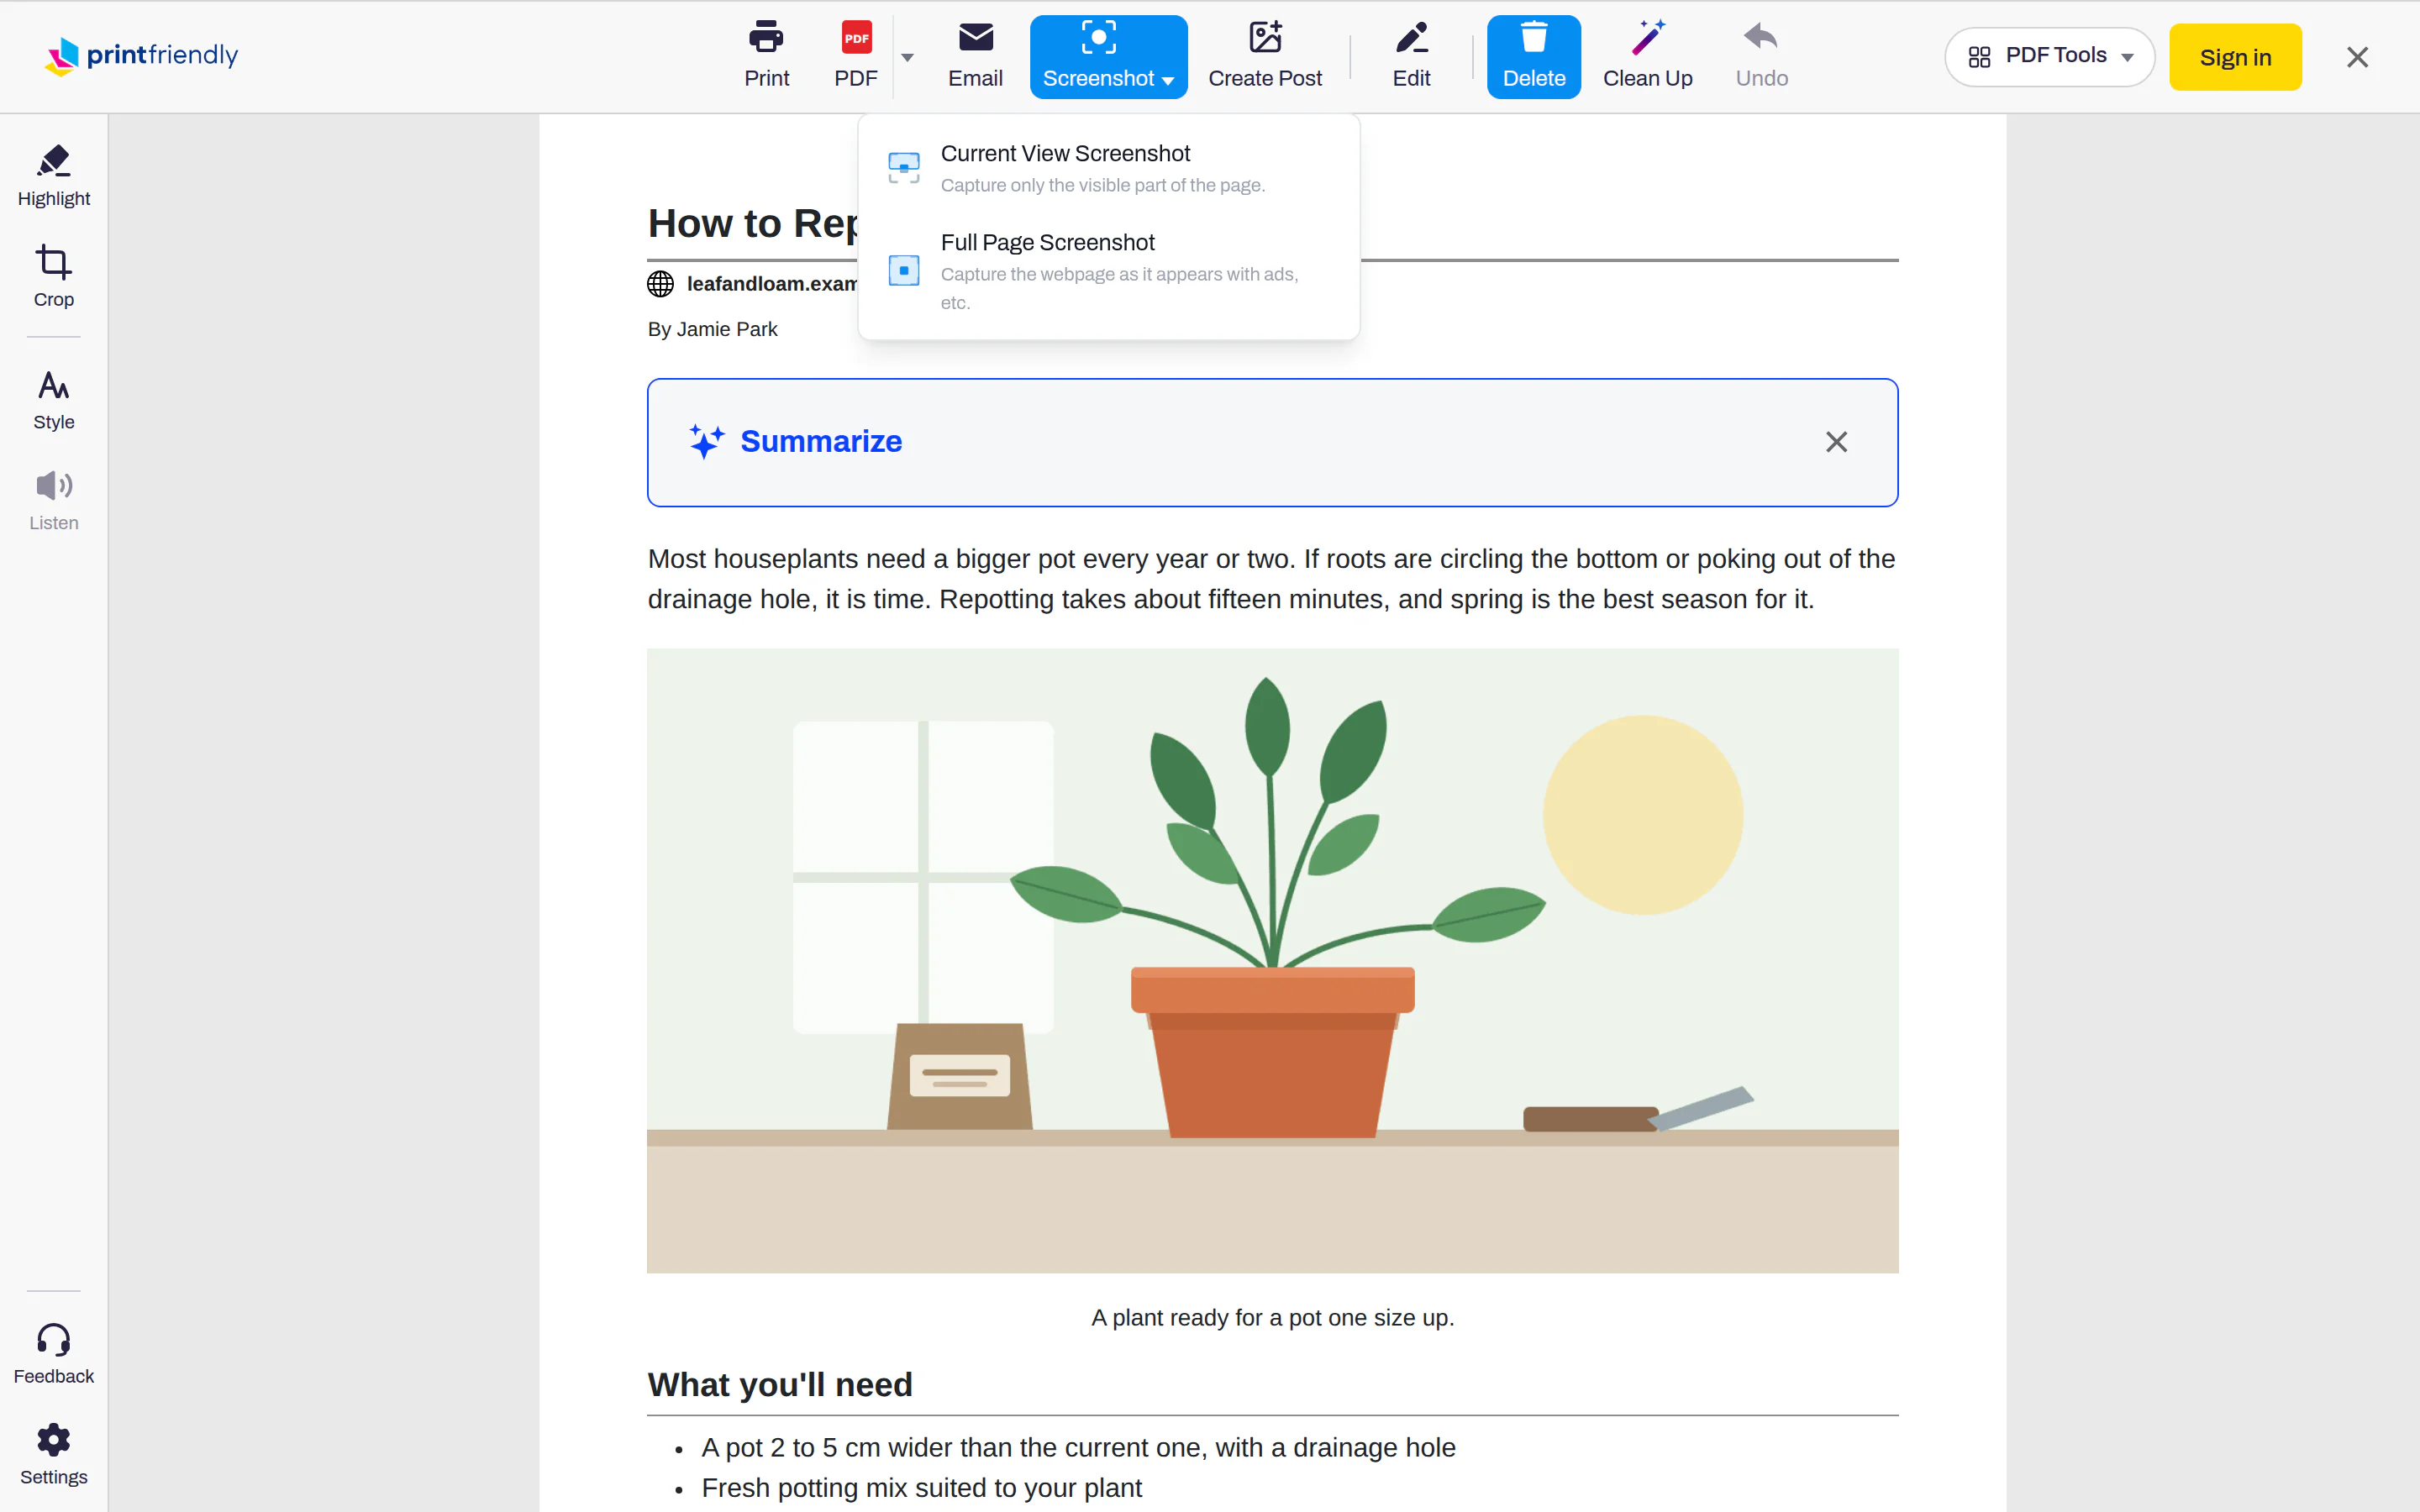
- On the page you want, click the PrintFriendly button in your browser's toolbar.
- Choose Full Page Screenshot for the whole page or Current View Screenshot for just what's on screen. (Already in PrintFriendly View? It's under Screenshot at the top.)
- The screenshot opens in a new tab, with a narrow palette of tools floating beside it. Hover over a button to see its name.
- Pick a tool and draw on the picture.
- Click Print, or PDF to save it.
The palette is in your way? Drag it by the little bar at its top. It stays where you put it for your next screenshot, and Reset position under the More button at its foot puts it back.
Pick the right mark
- Arrow points at the one thing that matters: a button, a field, a number.
- Shapes holds Box, Oval and Line. Click the small mark in the button's corner to choose, and it remembers the last one you picked.
- Draw is a freehand pen, for circling something or a quick underline. It smooths your line as you go.
- Text adds a label. This is how you add text to a screenshot: click where it goes and type.
- Highlight lays a see-through yellow band over a line, the way a marker would.
- Numbered step drops a badge with a number in it: 1, then 2, then 3, in the order you place them. Good for how-to guides and support replies.
- Blur and redact hides things (more on that below).
At the foot of the palette there's a color dot and a size button: eight colors, and small, medium or large. They apply to the mark you've selected or the next one you draw, and each tool keeps its own, so your arrows can stay red while your highlights stay yellow.
A couple of habits make a marked-up screenshot easier to follow. One arrow beats three: if everything is pointed at, nothing is. And number steps in the order someone would actually click, so they can follow along without reading a word.
Hide private details for real
Two tools share the last button. Blur smudges what's under it so you can still tell something was there. Redact covers it with a solid block, black unless you pick another color.
Both are drawn into the picture itself when you save or print, so there's no layer for anyone to peel back. And if you save an OCR PDF, the searchable kind, any line of text a blur or redaction touches is left out of its text completely. Nobody can find it with search or copy and paste it out.
Have a PDF that already exists and needs something blacked out? That's a different job: see how to black out text in a PDF.
Fix it as you go
Pick Select at the top of the palette and click any mark to move it, drag its handles to resize it, or give it a new color or size. A Delete button appears next to the mark you've selected, or press the Delete key. Undo and Redo sit in the toolbar at the top (Ctrl+Z or Cmd+Z works too).
Crop lives in the same palette. Crop after you've marked things up and the marks move with the picture, still editable. Undo takes back crops and marks alike, one step at a time.
Save, print or share it with the marks in
Every way out of the screenshot tab keeps your marks: Print, a PDF, an OCR PDF you can search, an Image (JPEG or PNG), Copy Image to paste it somewhere, Share, and the places under Save to.
Shapes you draw on top of a picture in a document tend to drift away from it when the picture moves. Marks drawn into the screenshot itself can't come apart from it, so you can drop it into a document, an email or a ticket and it stays exactly as you made it.
Want more on taking the screenshot itself? There's a whole post on the full page screenshot extension, and the Screenshots help page covers the rest of the screenshot tab.
Where it works
The markup tools are in the extension for Chrome, Edge and Firefox on a computer. They aren't on phones and tablets.
Frequently Asked Questions
How do I annotate a screenshot?
Take the screenshot with the PrintFriendly extension, then pick a tool from the palette beside the picture: an arrow, a box, text, a numbered step and so on. Draw on the picture, then print or save it. The marks go wherever the screenshot goes.
How do I draw on a screenshot?
Pick Draw from the palette and drag across the picture. Your line is smoothed out as you go. Pick a color and a size at the foot of the palette first if you want something other than red.
Is there a free screenshot annotation tool?
Your computer and phone have simple ones built in, and they're fine for a quick scribble. The PrintFriendly extension's markup tools are free too, and they also work on full page screenshots, number steps for you, and properly remove the text you blur or redact from a searchable PDF.
How do I blur part of a screenshot?
In the PrintFriendly extension, pick Blur from the palette and drag a box over what you want hidden. Redact, on the same button, covers it with a solid block instead. Either way, the text under it is left out of the searchable PDF too.
Sources
- Use Snipping Tool to capture screenshots, Microsoft. Windows' Snipping Tool can draw on and highlight a screenshot with its pen and highlighter.